
Category: Rugby 101 – Positions
-

Rugby 101 – Positions – The Fullback
Understanding the Fullback Position in Rugby In rugby, the fullback is a pivotal position that often gets overshadowed by the more glamorous roles like fly-half or wing. However, the fullback is a crucial component of any team, serving as the last line of defense and a dynamic attacking force. This blog explores the multifaceted role…
-

Rugby 101 – Positions – The Center
Understanding the Center Position in Rugby: Key Roles, Skills, and Impact on the Game In rugby, the center position plays a pivotal role in both attack and defense, acting as a crucial link between the forwards and backs. Centers are known for their strength, agility, and tactical awareness, often responsible for breaking through defensive lines…
-

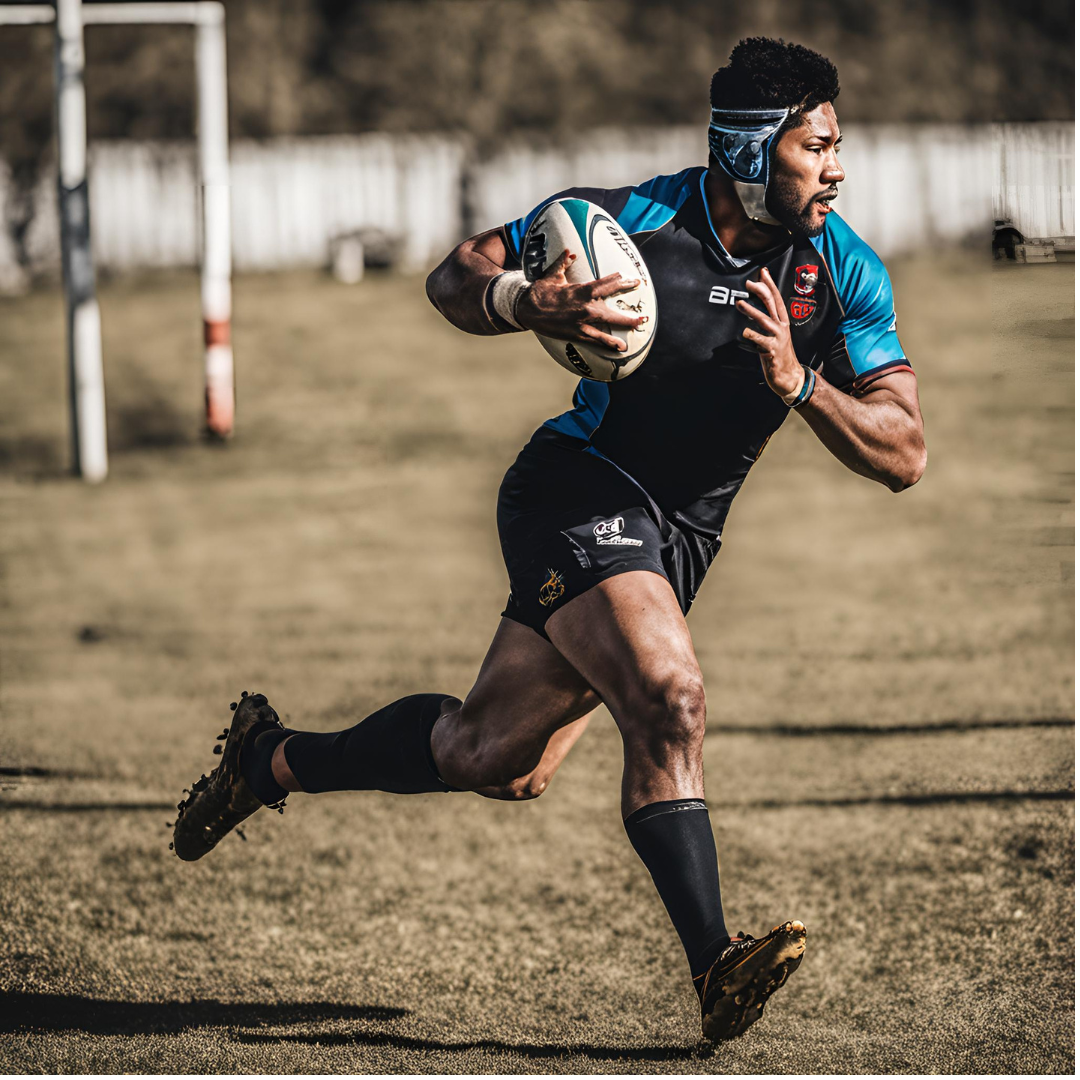
Rugby 101 – Positions – The Wing
Mastering the Wing Position in Rugby: Speed, Agility, and Game-Changing Plays In rugby, every position plays a crucial role, but few are as dynamic and exciting as the wing. The wing position demands speed, agility, and a keen sense of timing to create game-changing moments. Positioned on the far edges of the field, wings are…
-

Rugby 101 – Positions – Flyhalf
The Flyhalf in Rugby Union: The Tactical Brain of the Team In rugby union, the flyhalf is often regarded as the tactical architect of the team. Wearing the number 10 jersey, the flyhalf controls the direction of the game, makes key decisions, and serves as the primary playmaker. This player is crucial to a team’s…
-
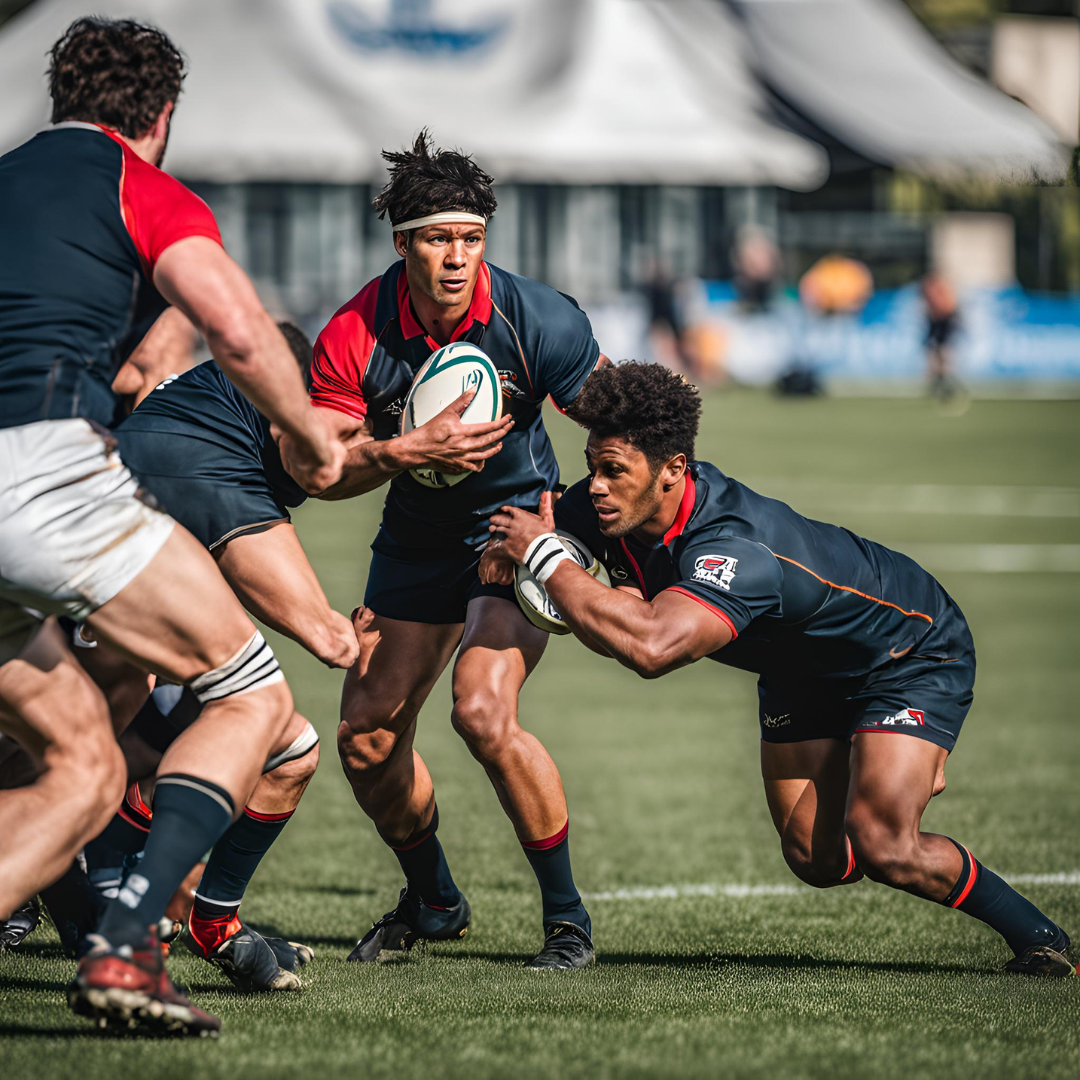
Rugby 101 – Positions – Scrumhalf
The Scrumhalf in Rugby Union: The Engine of the Team The scrumhalf is one of the most pivotal positions in rugby union. Often referred to as the team’s “general on the field,” the scrumhalf directs play, controls the tempo, and links the forwards with the backs. This role requires quick decision-making, agility, and excellent communication…
-
Rugby 101 – Positions – Number 8
The Role of Number 8 in Rugby: The Key to the Back Row The number 8 is one of the most versatile and influential players in a rugby team. Positioned at the back of the scrum, the number 8 acts as a crucial link between the forwards and the backs, blending physicality with skill and…
-

Rugby 101 – Positions – Flankers
The Role of Flankers in Rugby: The Versatile Workhorses Flankers are dynamic, versatile, and crucial players in rugby. Positioned on either side of the scrum, flankers wear the numbers 6 (blindside flanker) and 7 (openside flanker) and are responsible for a wide range of tasks, including tackling, rucking, ball-carrying, and disrupting the opposition’s attack. Known…
-

Rugby 101 – Positions – Locks
The Role of Locks in Rugby: The Powerhouses of the Pack Locks, also known as second-row forwards, are among the most physically imposing players on a rugby team. Wearing the numbers 4 and 5, locks are central to a team’s forward pack, providing strength, height, and power in both the set pieces and open play.…
-

Rugby 101 – Positions – Hookers
The Role of Hookers in Rugby: The Central Cog of the Scrum and Lineout The hooker in rugby is a unique and critical position that combines strength, skill, and agility. Wearing the number 2 jersey, the hooker is an essential player in the forward pack, serving as the central figure in the scrum and a…
-
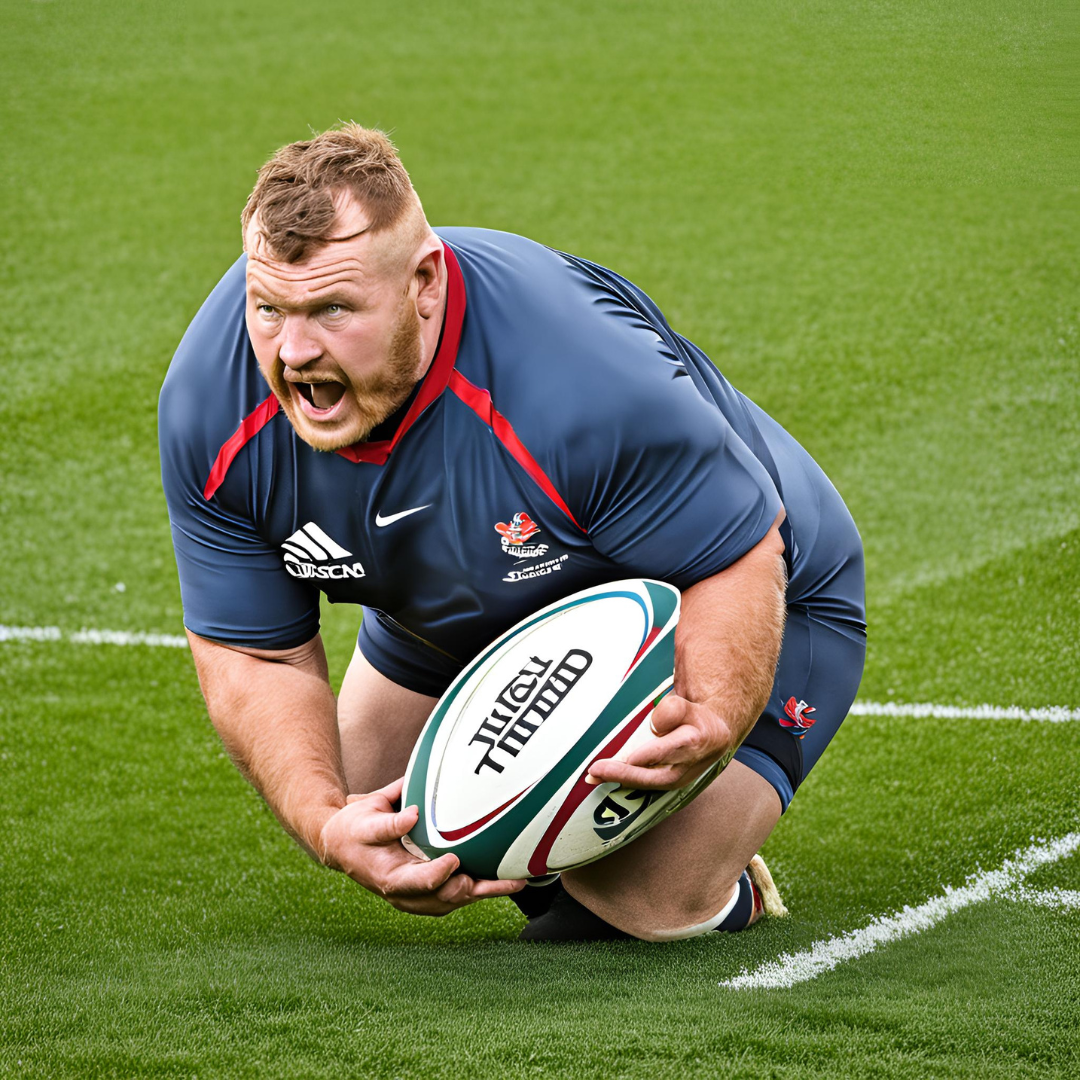
Rugby 101 – Positions – Props
The Role of Props in Rugby: The Pillars of the Pack In rugby, the game is often defined by the physical battles between forward packs, and at the heart of this confrontation are the props. These powerful players, typically the heaviest and strongest on the field, play a critical role in the game’s set pieces,…